home about projects services contact

Wednesday, August 27, 2014

In the meantime…lighting


Thank you all for the nice comments about my kitchen remodel. I am not completely finished yet…and am looking forward to getting it styled for some “glamour shots” soon.


image
 
 
Here is a shot of the sink wall. As you can see, we still need to install handles on the cabinets and paint the wood trim around the window. In the meantime…lets talk about the lighting I found and used in the space.

 
image


This photo was taken the day we installed the our chandeliers. I was so excited to move my tables in so we could best determine the height. Now a little info on these two beautiful lights.
 
I knew I wanted some type of lantern over my new round table in the breakfast nook. I even posted these 2 options on my Instagram
 
 
image


I decided on using the lantern style light above left. I searched online and at my local lamp stores, but could not find just what I was looking for in size and price range. Then, one day I stopped into a local thrift store and look what I found…


image


Perfect style…perfect size…unbelievable price…$4.99! Yes…under 5 dollars! Not perfect was the 1980’s shiny gold finish. But for under five bucks it was worth a little DIY updating.
 
This lantern is solid brass, beveled glass, and has 6 candelabra lights with an unexpected bonus of an under mount spot lamp…


image
 
image


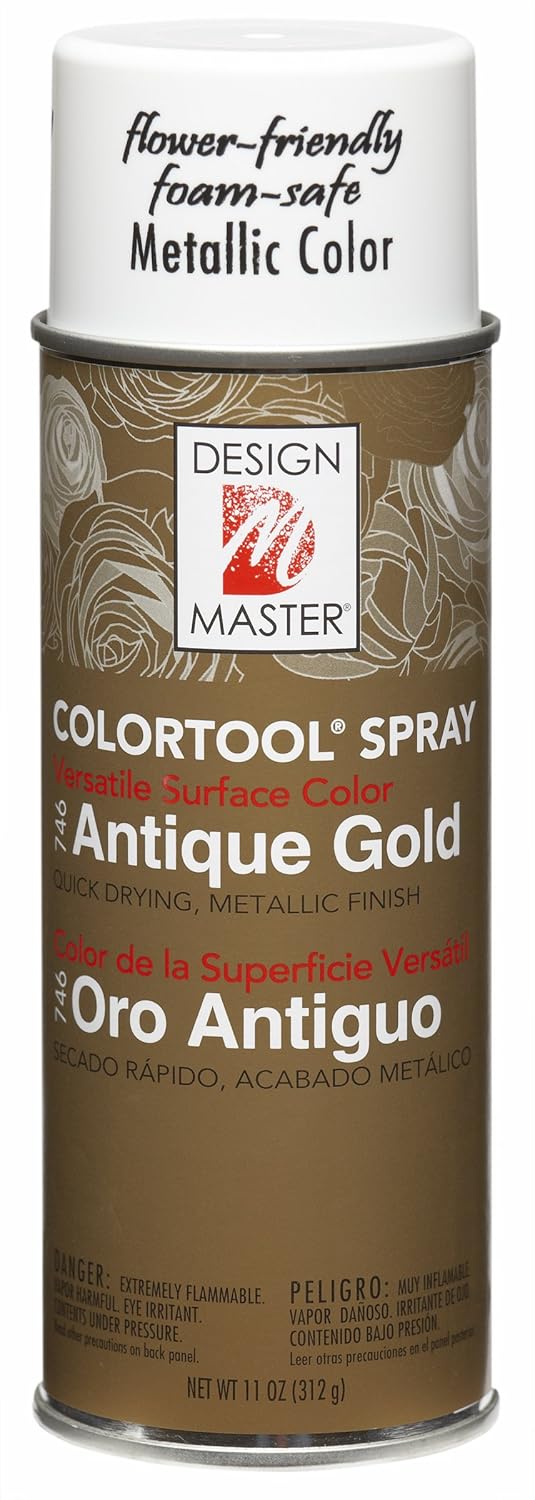
I wasn’t even sure if it still worked…but again, for $5 it was worth the risk! I knew I wanted a gold tone so I researched the best gold spray paints…see this post from Brittany Makes for an excellent comparison. I decided on Design Master in Antique Gold.


After taking the lantern apart…I laid it out and sprayed each piece. Using several light coats, I achieved the perfect coverage and gold finish I was hoping for.


image


image


Now look at her shine!


image


image


image


I love the shadows that are cast on the ceiling when the light is on. This pretty gold lantern looks perfect with the other chandelier I hung over my antique pine farm table…


image


I really wanted something more dramatic, and shiny, and dripping with crystals as shared in this post from June. I found it with this beautiful light. Purchased from the kitchen design showroom that I used for my kitchen plans. They were changing out one of their showroom vignettes and selling this fixture…sold!


image


image


Now on to some really fun and exciting lighting news! I was browsing thru my Instagram feed one day and entered a giveaway for a beautiful Coleen and Company Vivienne Lantern…


The Vivienne Lantern shown in standard "Ivory" w/ Gold Gilt Trim
 
Guess what? I won!!!


043


How exciting! This beautiful Vivienne Lantern is being hand crafted just for me! All of the gorgeous lights and lanterns from Coleen & Company are amazing. Visit their site here.
 
I have plans to hang it in my stairway when it arrives…stay tuned!


Monday, August 25, 2014

The kitchen is done!…well, sort of…


I can’t believe it has been 2 weeks since my last post on our kitchen renovation! That was when we were having our new hardwood floors installed. So much has happened since…the most annoying is that my computer died…again!


image
Ugh!!
 
 
So, while I was out of commission computer wise, I was very busy with finishing up the kitchen and more. You may have seen some sneak peeks on my Instagram page, but here are a few more pics of the last  2 weeks progress.
 
I chose a Carrera marble mosaic tile in a herringbone pattern for the backsplash. It was exciting to see the installation…
 
 
image


image


image


As you can see above, the quartz countertops were installed by then too. I chose Pental Quartz in Lattice. It is a nice creamy white with little gray veins. I went back and forth on using real marble for my counters since I simply LOVE  the look. However, I do not love the maintenance issues with real marble, so decided that quartz was the right option for us. The beautiful marble backsplash adds the texture and natural stone look that I desire.


image


This was on appliance installation day! I had several Instagram followers ask for a better view of the backsplash so I shared the above photo. It is so fun to see it all coming together…after all the months of planning, shopping, waiting, construction, and installation.
 
We still have several items to do before we are completely finished…and ready for the big reveal. Like putting the handles on the cabinets, painting the plank wall (more on that project to follow), and installing the reclaimed wood shelves.
 
 
image


Then I have to do the fun stuff…like unpacking and putting the kitchen back together. It feels like moving into a new house!  I am looking forward to having everything back in place and taking some photos of this beautiful new space! I will be sharing more resources and info then.

Finally, I want to thank the crew from CM Wade Construction for all of their hard work and talent.


image
 
 
I have known Mike for almost 30 years…he even married a friend of mine from high school! If you live in and around the Bay Area, I highly recommend talking with them about your next construction project.


Wednesday, August 6, 2014

Kitchen Reno…Week 7 ~ Wood Floors!


Well, I skipped my update for week 6, not that there wasn’t progress being made…


image
 
 
The wood floors were delivered and installation began. Probably my most exciting day yet! I have wanted to install wood floors since the day we moved into this house…10 yrs. ago.
 
So, you can imagine how happy I am to see this…
 
 
image


These were the first few planks laid…and I love them! I chose the Acadian Heights Engineered Hand Scraped Maple in 6 inch planks from my local Carpet One store. The installers got right to work and had the downstairs done in just a few days…


image
back hallway


image
kitchen


image
breakfast nook
 
 
We decided to continue the wood onto the stairs. I love the look of wood steps with white risers…
 
 
image


image


Well, why stop there? Since we are having to remodel our master bathroom (due to a leak found while doing kitchen!) We decided to carry the wood into the upstairs hall and into the master bedroom too…


image


image


These guys will have the bedroom cleaned out, floors installed, and put back together in one day! That is one of the benefits of an engineered wood floor, once they are in they are done!and ready to be lived on…


image
 
 
I took this photo last night and shared on my Instagram…so happy to have my lights installed too! I had to bring the tables in so I could best determine the chandelier height. This is the first time I have had the round table in here, and my craigs list chairs with my farm table.
 
It is so exciting to see everything coming together. Hoping to get countertops in by the end of the week, then backsplash and appliances next week!


01 09 10